
Written by
Anna Yuan
How to Take a Screenshot on Mac in 7 Ways
Summary: Don't know how to take a screenshot on Mac? This post lists 7 ways to help you capture a screenshot of a full screen, a selected part of the screen, a single window, and a whole web page.
Taking a screenshot is one of the easiest ways to share information with others online. In different situations, you may have different expectations of a screenshot. Sometimes you want to share the full screen with your friends, sometimes just a single window or a menu. When browsing a web page, you want to take a scrolling screenshot of the full webpage to extract information.
How to take a screenshot on Mac with its built-in utilities or a snipping tool for Mac according to various needs? Once you master the following Mac screenshot shortcut, it's easy to do that.
Table of Contents:
- 1. To capture a full screen on Mac
- 2. To capture a selected part of the Mac screen
- 3. To print the screen of a single window or menu
- 4. Grab a screen with the QuickTime Player application
- 5. To take screenshots on MacBook Pro with Touch Bar
- 6. Take a scrolling screenshot of web pages on Mac
- 7. Take a screenshot on Mac with Preview
Note: If there are shadows around screenshots, you can get rid of them by holding the Option key when you are selecting the area to capture.
To capture a full screen on Mac
- Open the window of your Mac that you want to print.
- Press and hold these three keys on the keyboard together: Command + Shift + 3.
- The screenshot will be made after you hear a camera shutter sound. And then the captured screen will show as a thumbnail at the lower right corner of your screen.
- Before it's automatically saved, immediately right-click on the screenshot to decide where you want to save it, which program you hope to open it, or whether you just want to delete the screenshot on MacBook.

To capture a selected part of the Mac screen
Sometimes we don't want to capture a full screen because of some private information on the screen. If so, you can capture a selected part of the screen.
- Make sure the screen is in the interface of the target application, window, or menu bar that you want to capture.
- Press and hold the hotkey of Command + Shift + 4 to take a screenshot.
- Drag the crosshair to select the area on the screen to capture.

- The captured portion will appear at the corner of your screen for your next movement as well.
To print the screen of a single window or menu
Manually selecting the screenshot area is convenient. But when you open several apps or windows but just like to screenshot one of them, there is a quicker way to do that.
- Open the window or the menu that you'd like to capture.
- Press and hold the key combinations: Command + Shift + 4 + Space bar.
- You'll see a camera icon replacing the pointer on the screen. Simply move the camera and click on the window or menu that you want to capture.
- The screenshot will appear at the corner of your screen for seconds, and then will be automatically saved to your desktop.
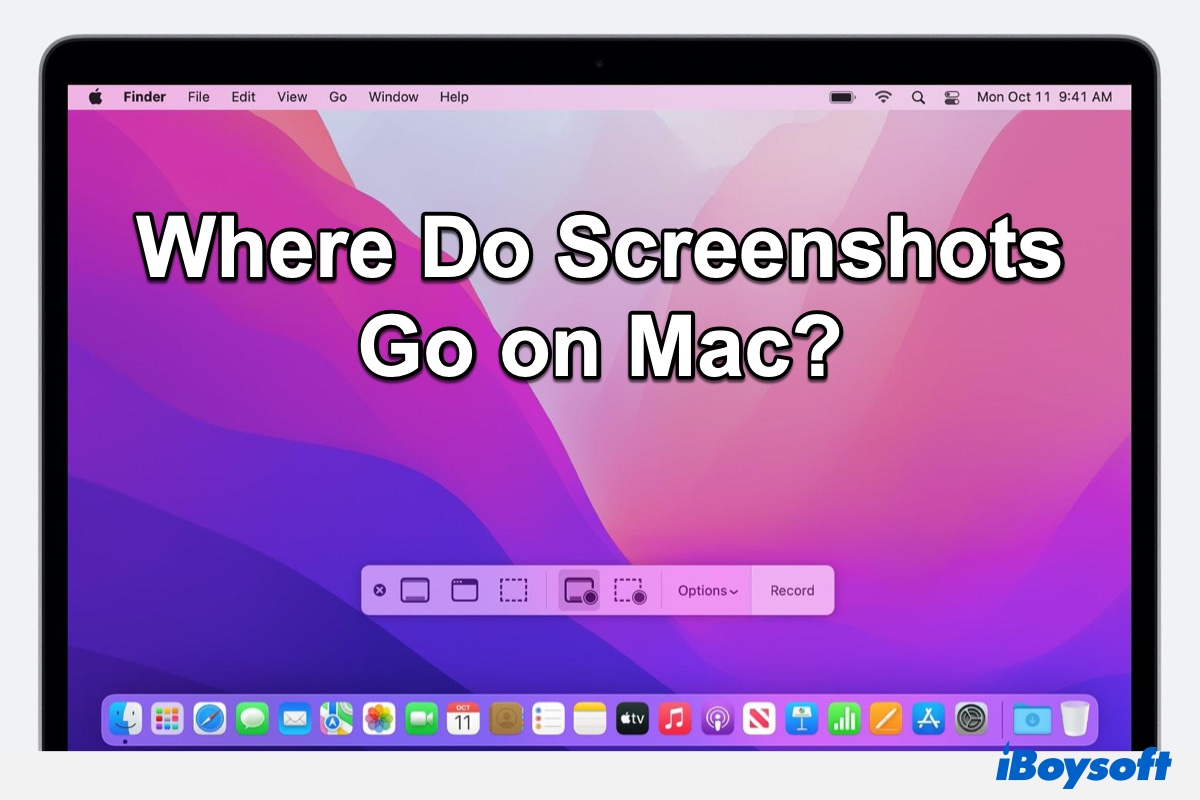
Where Do Screenshots Go on Mac Monterey, Big Sur, or Catalina?
Don't know where your screenshots are saved on Mac Monterey, Big Sur, or Catalina? This post will show you where do screenshots go on Mac and how to change where screenshots are saved on your Mac. Read more >>
Grab a screen with the QuickTime Player application
Except for the three ways mentioned above, QuickTime Player, a screen recorder for Mac, also can be used to grab a screen. You can launch it by pressing and holding Command + Shift + 5 on your keyboard. Or go to Launchpad > launch QuickTime Player > click File at menu bar > click New Screen Recording.
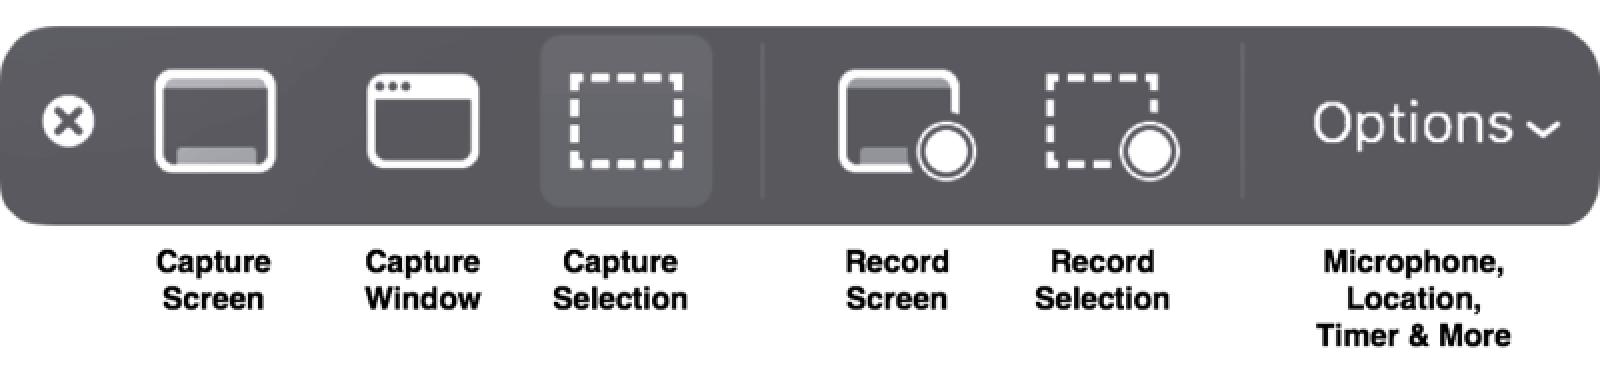
The toolbar provides 3 options for taking screenshots on Mac:
- Capture Screen will take a full-screen screenshot of your Mac.
- Capture Window brings a camera icon for selecting a target window or menu.
- Capture Selection gives you an example area for screenshots before you edit the crop line.
To take screenshots on MacBook Pro with Touch Bar
If you are using a MacBook Pro with Touch Bar, capturing the screen on your Mac only takes you two simple taps if you set it properly.
- Click the Apple log at the upper left of the Mac and choose System Preferences.
- Click the Keyboard option from the menu and choose the Customize Control Strip button at the lower right.
- Then you'll see a list of features that can be completed via the Touch Bar. You need to select and drag the Screenshot down, and off the screen to the Touch Bar.
- Release the Screenshot icon when it's in the Touch Bar and then tap the Done button to finish.
- The next time you want to take screenshots, simply tap the camera icon and you'll see three types of screenshots and the location where the screenshots are saved on your Mac.
Take a scrolling screenshot of web pages on Mac
The general shortcuts to take screenshots on Mac can't satisfy your need for a scrolling screenshot. But there is another method to take a full screenshot of a web page.
- Capture a scrolling screenshot in Chrome with Command.
- Make sure you are on the web page that you want to take a full screenshot, and then right-click your mouse.
- Choose the Inspect button from the menu, which brings up the developer tools of Chrome.
- Press and hold the shortcuts Command + Shift + P to open the command menu.
- Type in "screenshot" and then select the option Capture full-size screenshot. In this way, you get a full and scrolling screenshot on Mac using the command line.

Take a screenshot on Mac with Preview
Preview is not only an image viewer but also a screen capture tool for Mac. You can use Preview to take a screenshot. If Preview is not working on Mac, try to fix the problem first and then use it to capture a screenshot.
- Launch Preview on Mac.
- Unfold the File list on the top.
- Select Take Screenshot from the list.
- Choose one option to take a screenshot and save it to the desktop.
Related articles:
• How to Edit Screenshots on Mac Computers?
• How to Extract Text from Images?
• How to fix the AirDrop not working issue?